Purchasing a used vehicle is often a high-stakes balancing act between finding a great deal and avoiding a financial disaster. The used car market is currently more complex than ever, with prices fluctuating and sellers becoming increasingly sophisticated in hiding potential flaws. At Glavixt, we believe that every driver deserves a reliable vehicle. This comprehensive guide is designed to transform you from a casual browser into a meticulous inspector, ensuring that your next automotive investment is one you can stand by for years to come.
Phase 1: Documents and Legal Purity
Before you even touch the car, you must verify its legal standing. A car that looks perfect but has title issues is a liability you cannot afford. Start by requesting the Vehicle Identification Number (VIN). This 17-digit code is the DNA of the car. Use it to pull a comprehensive history report from reputable databases. Look for any discrepancies in mileage, previous accidents that resulted in total-loss claims, and most importantly, the title status.
- Title Verification: Ensure the seller's name matches the name on the title. Beware of "title jumping," where a seller hasn't registered the car in their name to avoid taxes.
- Service History: A well-documented service book is a sign of a responsible owner. Look for regular oil changes every 5,000 to 7,500 miles and major interval services like timing belt replacements.
- Lien Check: Verify that there are no outstanding financial obligations on the vehicle. A bank can repossess a car even if you have paid the seller in full if the previous loan wasn't cleared.
Phase 2: Body Inspection and Accidents
The exterior of the car tells a story of its past. While minor scratches and stone chips are expected on a used vehicle, structural damage is a deal-breaker. Begin your inspection in broad daylight; artificial light can hide paint inconsistencies. Look at the car from a distance to see if the colors of different panels match perfectly. A door that is slightly darker than the fender is a clear sign of a respray.
Pro Tip: The Panel Gap Test
Run your finger along the gaps between panels (e.g., between the hood and the fender). The gaps should be uniform in width from top to bottom. Uneven gaps usually indicate that panels have been removed or the frame has been pulled after a collision.
Check for rust in critical areas: wheel arches, door sills, and the bottom of the doors. If you see bubbling paint, the rust is likely coming from the inside out. Inspect the glass; all windows should have the same manufacturer stamp and year code. If the windshield is newer than the car, ask why. While it could be a simple rock chip, it might also indicate a serious front-end impact.
Phase 3: The Heart of the Machine – Engine and Gearbox
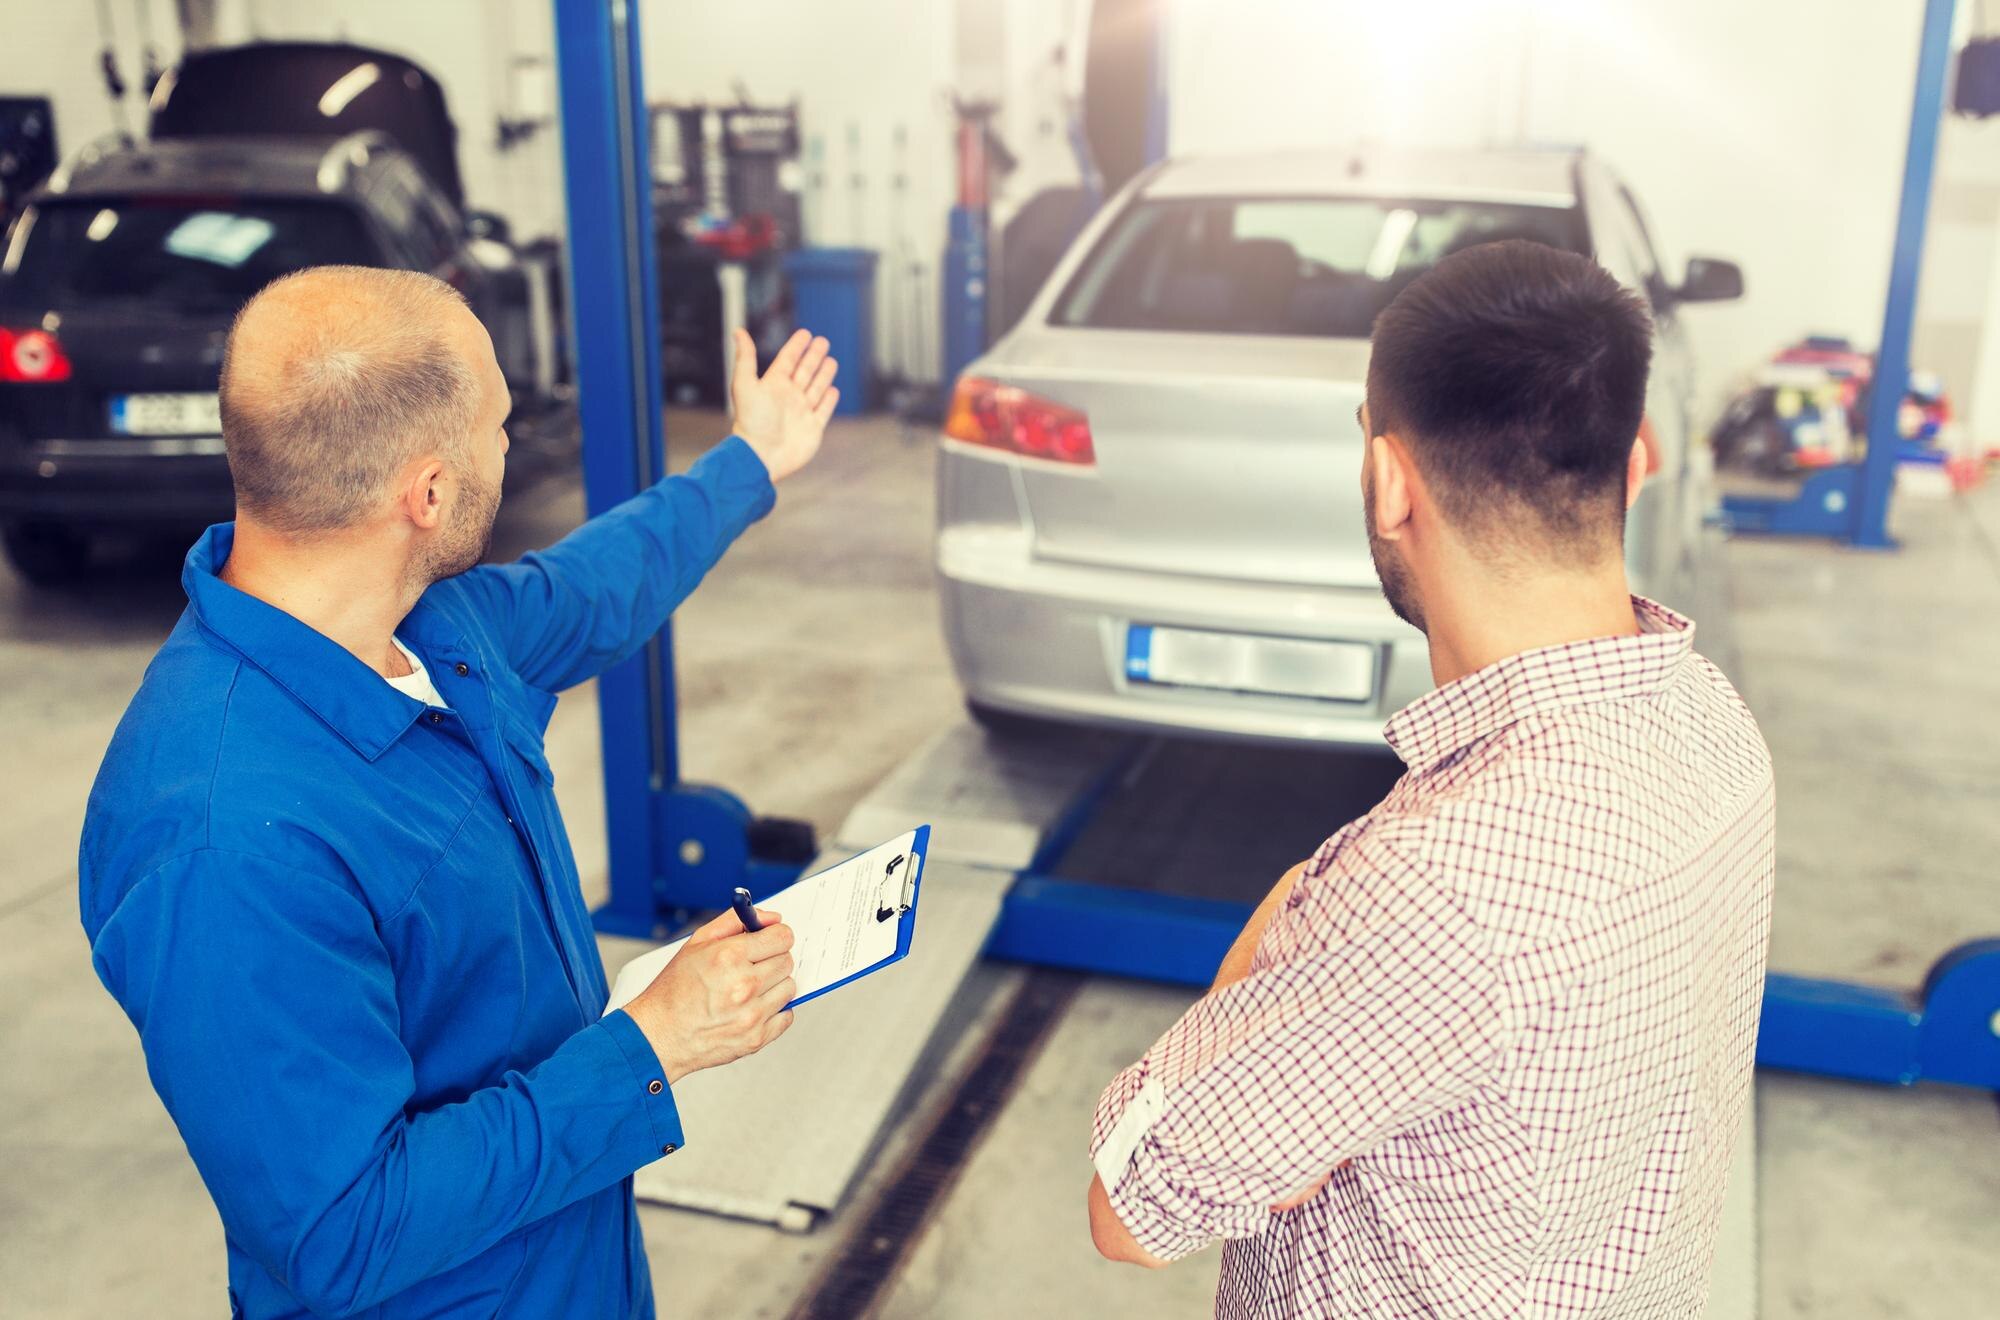
Open the hood and look for signs of neglect. A sparkling clean engine bay might actually be a red flag – the seller might have steam-cleaned it to hide active oil or coolant leaks. Look for "wet" spots around the valve cover gasket and the head gasket. Check the fluids. The oil should be amber or dark brown; if it looks like chocolate milk, there is coolant mixing with the oil, indicating a blown head gasket.
- The Cold Start: Always insist on a cold start. Many engine noises, like piston slap or timing chain rattle, disappear once the engine warms up. Listen for any metallic tapping or grinding.
- Transmission Check: If it's an automatic, the shifts should be smooth and immediate. Any hesitation, "hunting" for gears, or a hard jolt when engaging Drive or Reverse is a sign of expensive internal wear.
- Exhaust Smoke: Blue smoke means the engine is burning oil. White smoke (after the car is warm) suggests coolant is entering the combustion chamber. Black smoke indicates a fuel system issue.
Phase 4: Interior, Electronics, and Wear
The interior should match the odometer. If a car shows 30,000 miles but the steering wheel is worn smooth and the driver's seat bolster is torn, the mileage may have been tampered with. Test every single button. Does the AC blow ice cold? Do all the windows roll down at the same speed? Does the sunroof seal properly? Electrical gremlins in modern cars are notoriously difficult and expensive to diagnose.
Don't forget the smell. A musty or damp odor often indicates water ingress, either from a leaking seal or, worse, flood damage. Check under the floor mats for dampness or silt, which are tell-tale signs of a car that has been submerged. Finally, check the dashboard for any warning lights. A piece of black tape over the Check Engine light is an old but still used trick to deceive buyers.
Phase 5: The Test Drive – Real-World Performance
The test drive is your opportunity to feel how the car handles the road. Turn off the radio so you can hear the vehicle. Drive on various road surfaces. If the car pulls to one side, the alignment is off, or there is a suspension issue. Brake firmly from a moderate speed; if the steering wheel vibrates, the brake rotors are likely warped. Listen for clunks or rattles when going over bumps, which point to worn bushings or struts.
Pay attention to the steering feel. It should be precise with no "dead zone" in the center. If the car feels floaty or disconnected, the steering rack or tie rods may be nearing the end of their life. Accelerate hard at least once to ensure the turbocharger (if equipped) is boosting correctly and that there are no misfires under load.
Conclusion: Making the Decision
Buying a used car is a process of elimination. Your goal during the inspection isn't to find reasons to buy the car, but to find reasons not to. If the car passes all these checks, you can proceed with confidence. Remember, there is no such thing as a "perfect" used car, but there is such a thing as a fair price for the condition. Use your findings to negotiate. A car needing new tires or a brake job isn't necessarily a bad buy, provided the price reflects those upcoming costs. Stay rational, follow the checklist, and enjoy the peace of mind that comes with a well-vetted purchase.